Setting Up Your Application Forms
Before vendors and performers can apply to your fair, you need to set up your application forms. You can create one form for each applicant type — Artisan/Craft Vendors, Food Vendors, and Performers.
Go to Applications & Click "Manage Application Forms"
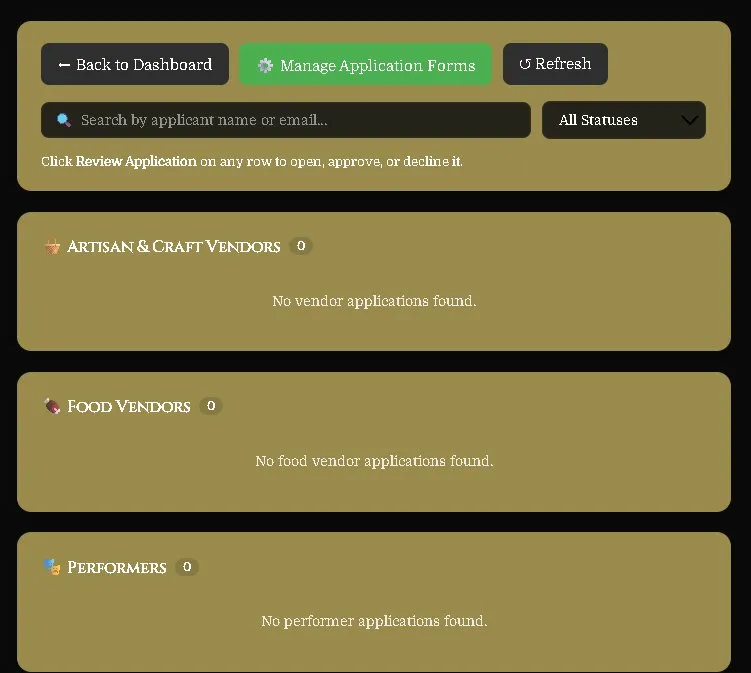
From your Fair Dashboard, click Applications. On the Applications page, click Manage Application Forms to set up or edit your forms.
Create a New Application Form
Click Create New Application Form. You'll be asked to:
• Choose the applicant type — Artisan/Craft Vendor, Food Vendor, or Performer.
• Give the form a name — this is for your reference only, e.g. "2026 Spring Vendor Application."
Add Your Questions
Once your form is created, you can add custom questions that applicants must answer. These can be text fields, dropdowns, checkboxes, file uploads, address fields, and more. You can also mark questions as required.
Add Your Contract
Each form has its own contract that applicants must read and accept before submitting. Click Edit Contract to paste or type your vendor contract in plain text. Include your booth fees, rules, conduct requirements, and cancellation policies.
Preview & Activate Your Form
Before going live, click Preview Form to see exactly what applicants will see. When you're happy with it, make sure the form is set to Active — only active forms accept new applications.
💡 How Applicants Find Your Form
Once your form is active, vendors and performers can find your fair through FairQuest and apply directly. They'll see your fair listed when they search for fairs accepting applications.
Reviewing & Managing Applications
Once applications start coming in, here's how to review and manage them.
View All Applications
From your dashboard click Applications. You'll see all incoming applications organized into three sections — Artisan & Craft Vendors, Food Vendors, and Performers. Each section shows a count of applications and their current status.
Search & Filter Applications
Use the Search bar to find a specific applicant by name or email. Use the Status filter to narrow down by:
• Draft / Pending — started but not yet submitted.
• In Review — submitted and waiting for your decision.
• Approved — applications you have accepted.
• Declined — applications you have declined.
Open & Review an Application
Click Review Application → on any row to open the full application. Here you can:
• Read all the applicant's answers to your custom questions.
• View their vendor or performer profile information.
• See which weekends they selected.
• Review whether they accepted your contract.
• Check any files or images they uploaded.
Approve or Decline
Once you've reviewed the application, you can either Approve or Decline it. The applicant will automatically receive an email notification with your decision.